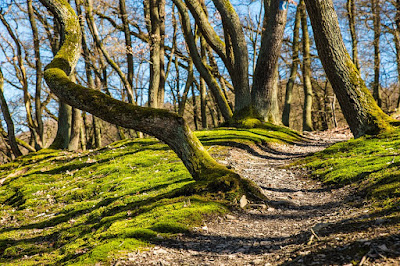
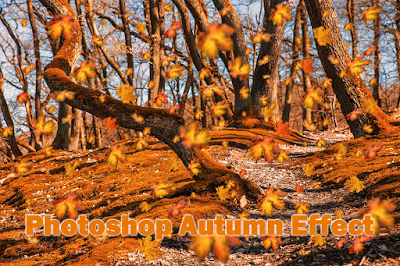
The final result will look like this image:
in the previous image there are the original image with the edited image. So here is the edited image with the final result of autumn effect photoshopped image with the falling leaves style.
Used forest view image ( Original Forest Image ) :
and the falling leaves image that we used in the photo effect we made:
The final autumn effect with the fall leaves effect in Photoshop:
Here's how to create autumn effect in Photoshop with the fall leaves ( step-by-step guide for the tutorial ):
watch autumn effect video tutorial here: autumn effect - fall leaves effect - video tutorials
1. use the forest view image
2. edit the blending options of the image to be like the final image colors.
3. use the color filter to change colors to be similar to the final image
4. then add fall leaves image to the forest layer
5. edit the fall leaves to be good with it.
6. final touches on the image in Photoshop.
Want to read new posts? check out the new blog!


![Photoshop autumn effect & Falling Leaves effect [ fast! ]](https://blogger.googleusercontent.com/img/b/R29vZ2xl/AVvXsEhYhyphenhyphenTS36safB2qwxbZcnLiVT515kl92fcKXrlMpfTp7U9v38JXqFMtEozOUc7fE49N2iqil1dKLdFVZeKN8NSqizWJSbmjnzqzvNgpUJ547Hx-ZyEnv1346R8_eTNFuDvaB6NyDr7HxmOK/w100/Photoshop+autumn+effect-video+tutorial+cover.png)
